June 2, 2025
Die-cutting, laser cutting and beyond: How to choose the best method for maximum ROI
Working with a custom converter is like hiring an experienced guide before backpacking in the wilderness. At first, you may be tempted to save costs by navigating on your own. But a guide can help you avoid the wrong turns that lead to costly delays — and that’s where their real value comes in.
Like a good trail guide, a high quality converter knows the lay of the land — and the most efficient route to your destination.
When it comes to creating custom finishing components, the method matters just as much as the material. This is where a skilled, quality-focused custom converter proves their worth. Whether you’re working with foam, adhesive tape or rigid acrylic, the cutting method will have direct impacts on cost, quality and lead time.
In this blog, we’ll show you how iD Products applies a proven decision-making process to select the ideal method to help bring your project to the finish line.
Getting the best cut: Our decision guide to choosing the right method
At iD Products, when we’re choosing between die-cutting, laser cutting, digital cutting or CNC routing to fabricate your component, we weigh several factors to get the best result at the best price.
Our goal is simple: achieve the lowest possible cost per part while maintaining a high level of quality.
- Production costs: Maximize output in the least amount of time
- Material costs: Minimize waste, rework and matrix scrap
- Quality standards: Meet or exceed your tolerance and quality requirements
But finding the best path forward — one that can be replicated at scale — takes deep knowledge of materials and how they respond to different cutting methods.
When choosing a cutting method, we evaluate the following:
- Quantity: The required run volume, whether this is a one-off job or a repeat
- Material: Thickness and durometer (hardness or softness) of a material and how it responds to the pressures of cutting
- Part size: Overall dimensions of the part and whether techniques like nesting can be used to optimize material use
- Material cost: For high-cost or hard-to-cut materials, we lead with strategy and experience to keep waste and rework minimal
- Turnaround time: Needing parts ASAP versus next month can influence which method gets chosen. (Tip: more lead time provides a cushion for cost-effective solutions)
- Design complexity: Is the part a standard shape or are there intricate turns, cutouts or tight tolerances? Some cutting methods are best at mass producing simple shapes quickly, while others produce less volume but excel at small cutouts and tight turns.
Die cutting: The pros and cons
Die cutting may be one of the earliest methods invented for mass-producing parts — and it’s still commonly used today. By using a custom metal die to stamp out shapes from your material, it provides a fast, reliable way to produce thousands of identical components in a short amount of time.
Advantages of die cutting
We often turn to die cutting for the following reasons:
- Fast and efficient: Die cutting produces the highest output in the shortest time, making the expense of the die worthwhile for high volume and repeat orders.
- Precision: Delivers clean, sharp edges with consistent shapes and tight tolerances in thin to medium-thickness materials.
Considerations of die cutting
That said, die cutting isn’t always the right fit. We may rule it out in scenarios like these:
- Single or low-volume orders: Ordering a custom die adds cost to small projects and requires long lead times.
- Parts with intricate or fine details: Intricate geometries are prone to distortion or displacement.
- Designs still in development: Because dies are custom-built, they’re best suited when your design is finalized. If your part is likely to change, more flexible cutting methods may be more cost effective.
- Thicker or spongy materials: Excess thickness or compressibility can cause displacement, resulting in out-of-tolerance parts.
Bottom line: When die cutting makes sense
We’ll recommend die cutting when:
- You need thousands of identical parts — making the per-unit cost highly economical
- Your material has a standard thickness and durometer
- Your design is locked in, finalized and unlikely to change
By applying a simple formula, we can determine whether die cutting is the most cost effective method after the upfront costs of a custom die.
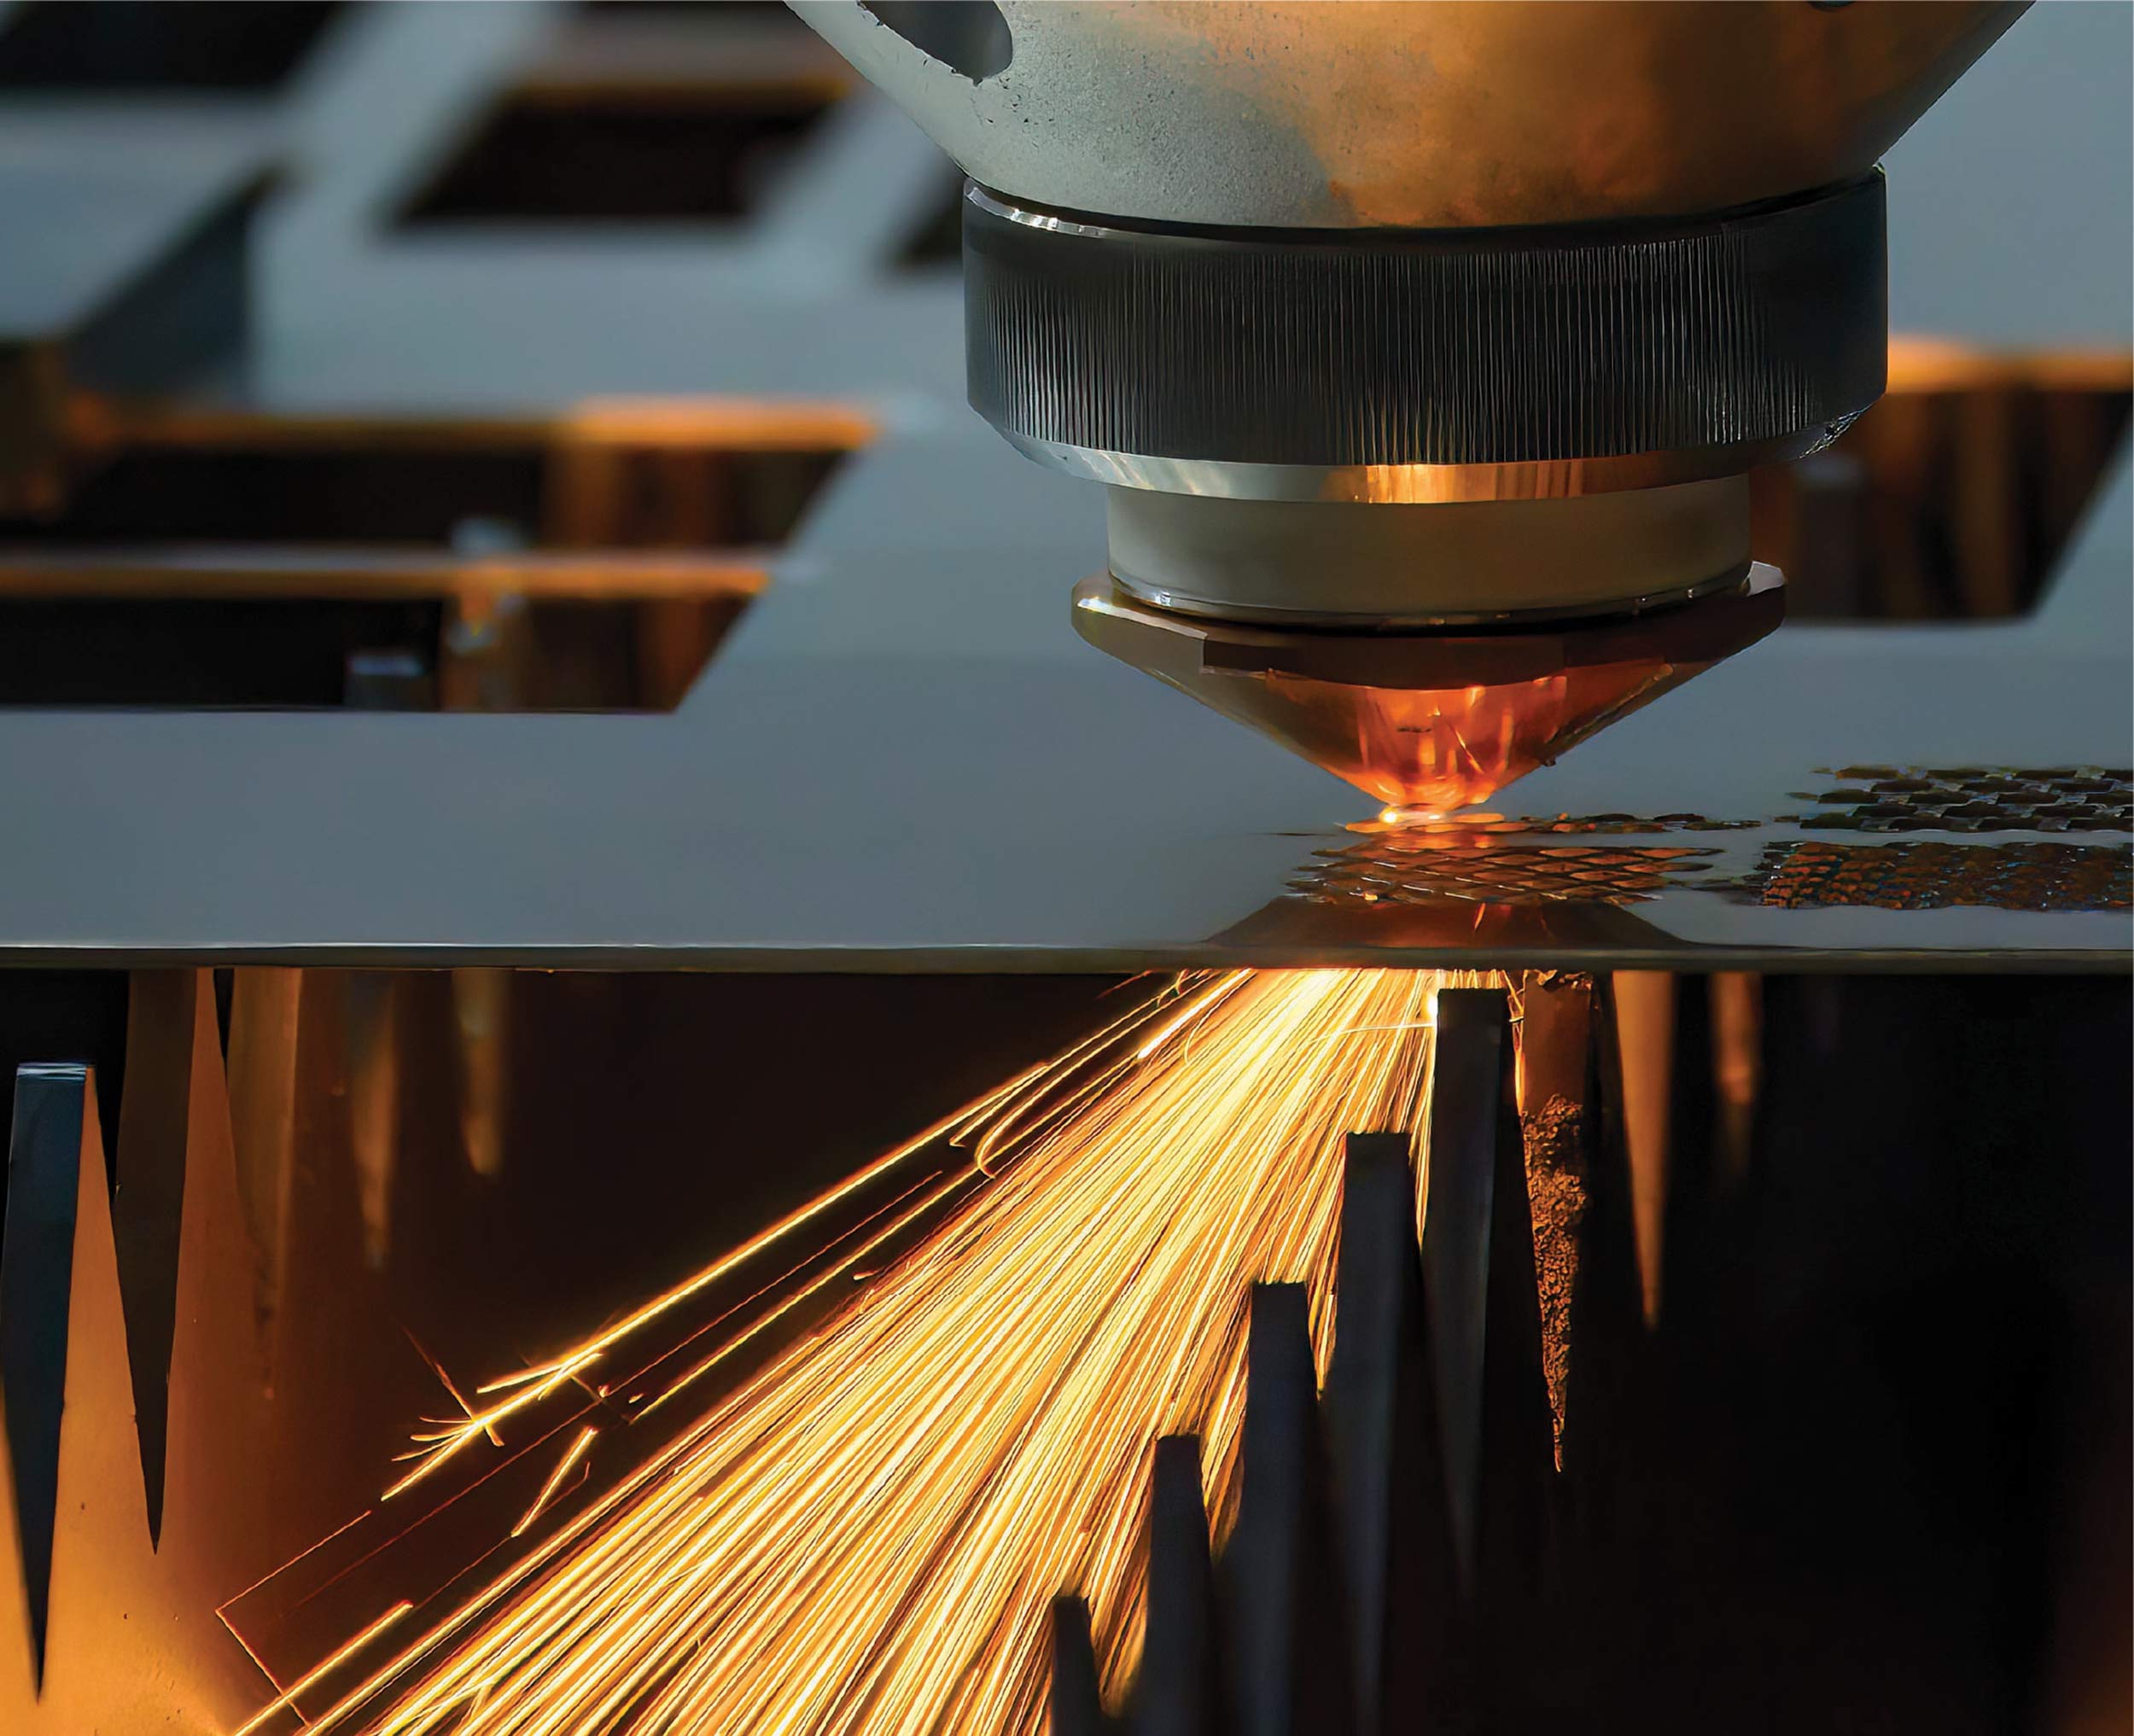
Laser cutting: When we use It — and when we skip it
Our clients are drawn to laser cutting for good reason: it eliminates the upfront cost of a custom metal die, plus it’s sleek, modern and precise. A powerful tool, there are clear cases when laser cutting is the right choice — and others when it’s not the most efficient path forward.
When laser cutting makes sense
We typically recommend laser cutting for:
- Intricate designs and cutouts: With no material displacement (unlike die cutting), laser cutting produces clean, consistent shapes with crisp edges.
- Smaller production runs: For prototyping and low-volume jobs, laser cutting can be more economical with a shorter lead time because there are no metal dies to purchase.
- Precision: When tight tolerances are essential, laser cutting delivers a high rate of accuracy.
- Flexibility: Guided by software, laser cutting accommodates quick design changes. An updated CAD file is all that’s needed to begin production.
Considerations for laser cutting
There are certain projects where laser cutting may not be the most cost-efficient method for your component:
- Heat-affected zone: Laser cutting uses a focused beam of heat, which can leave burn marks or discoloration on certain materials. On some materials, the process can release toxic fumes, which creates an unsafe, unpleasant workplace.
- Production speed: In terms of units per minute, laser cutting lags die-cutting by a significant margin. While laser cutting makes sense for producing small batches, it becomes more expensive as volume increases.
When to Choose Laser Cutting
- You need to replicate an intricate or highly detailed design
- You’re producing a prototype or small-batch order
- Your design is still evolving and may require last-minute adjustments
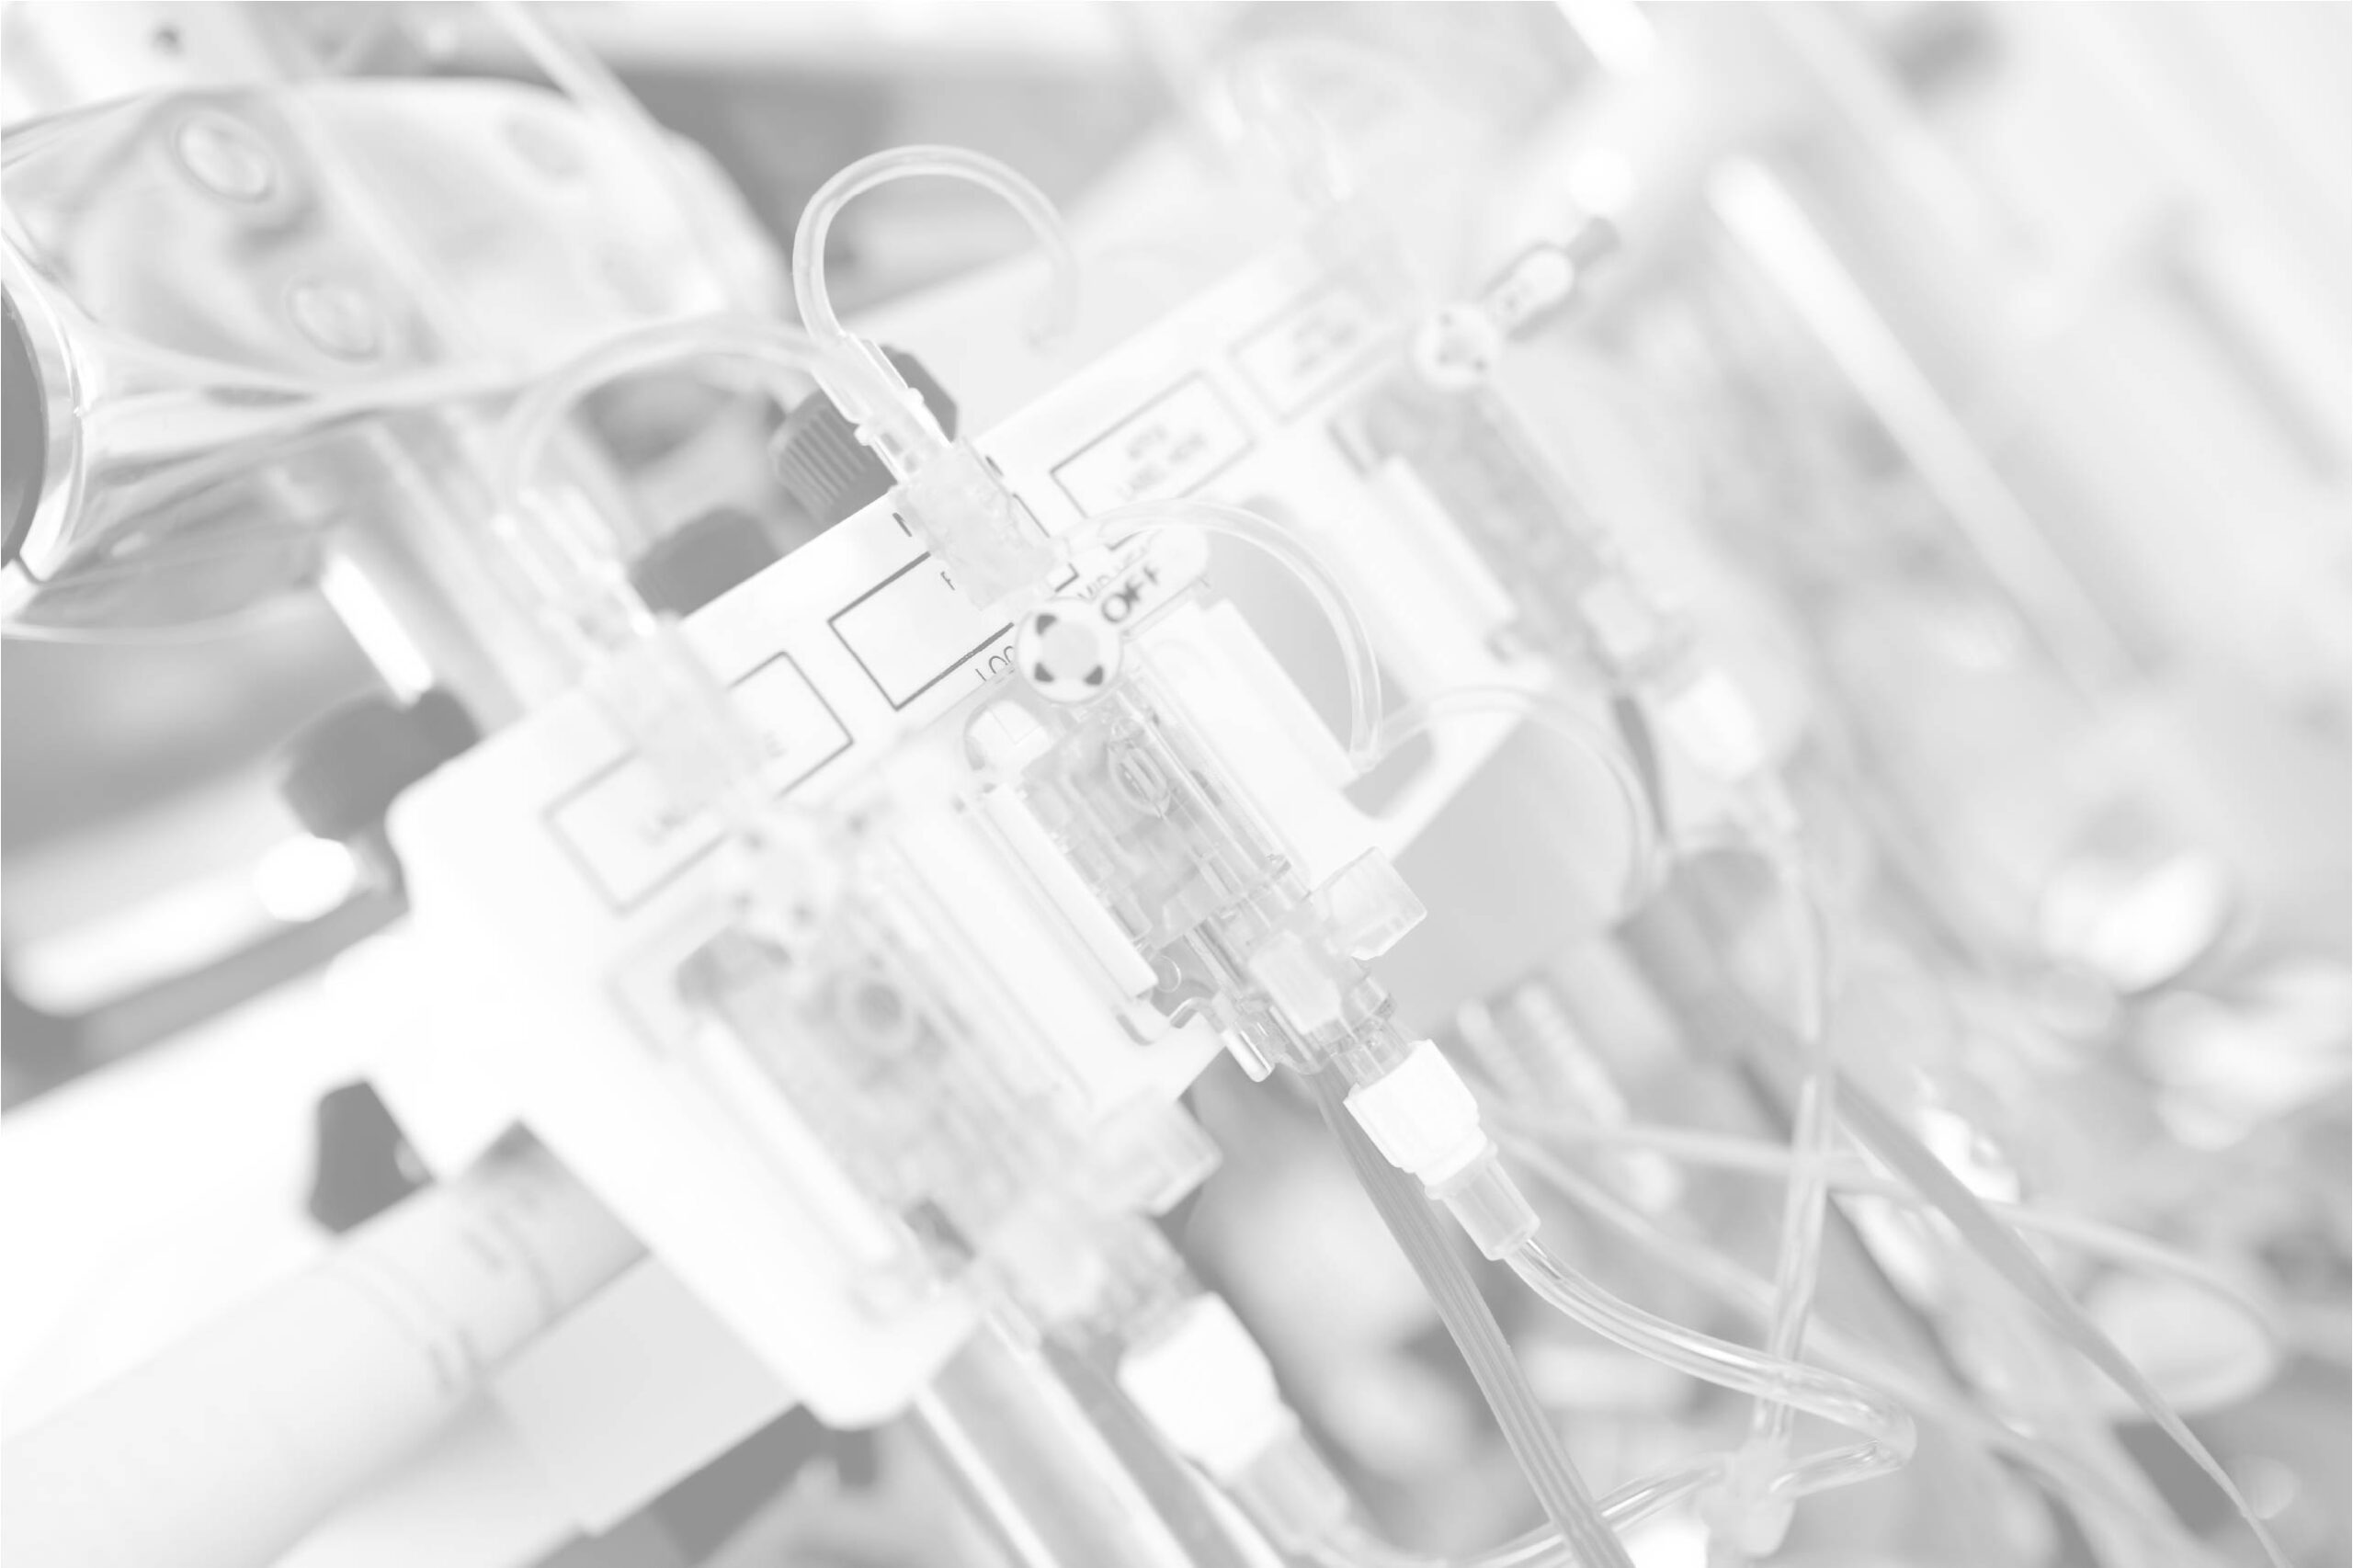
Digital cutting: For complex jobs with tight turnarounds
Digital cutting (commonly represented by brands like Zünd) offers many of the same advantages as laser cutting — particularly when precision and design flexibility are top priorities. But unlike laser cutting, digital cutting doesn’t leave burn marks plus it comes with a wider range of capabilities to customize your component.
Advantages of digital cutting
- Versatile: In addition to cutting two-dimensional shapes, digital cutting allows for scoring, kiss cuts and light routing, making it a great tool for more complex component designs.
- Fewer upfront costs: No custom metal dies are needed — the blade is guided by software — making it ideal for low-volume orders or projects with evolving designs.
- All-purpose: Well-suited for most foams and adhesive tapes, regardless of thickness, hardness or compressibility. For tricky or non-standard projects, digital cutting is often the solution.
- Clean and cool: Because there’s no heat involved, there’s no risk of burns or fume release, making it ideal for materials sensitive to thermal distortion.
Digital cutting: When we’d skip it
There’s really one main drawback to digital cutting, that’s with large-volume production runs.
Despite technological advances, die cutting still outpaces digital cutting when it comes to production efficiency. For high-volume, repeatable orders, die cutting remains the faster and more cost-effective choice.
When to choose digital cutting
That said, there are times when digital cutting often proves the most worthwhile option.
- You have a low- to medium-volume order
- Your part requires tight tolerances or high precision
- You’re on a tight deadline
- You need the option to make last-minute design changes
- You’re working with thicker or compressible materials that don’t produce high-quality results with die-cutting or laser cutting
CNC routing: The solution for customizing and engraving thick, rigid materials
Our CNC routing capabilities (sometimes referred to as micro machining) is what sets us apart from other converters. In addition to our ability to die-cut soft and flexible materials, we can also shape and customize rigid substrates like acrylic, aluminum and DiBond to create machined panels.
CNC routing: What’s it’s best for
- Shaping rigid materials: CNC routing allows us to process thicker, harder materials that other cutting methods can’t handle — adding value while saving time.
- Highly finished results: Produces clean edges while also offering engraving capabilities for a professional finish.
The drawbacks of CNC routing
The limitations of CNC routing tend to arise when working with thinner rigid materials. Generally speaking, this method is best for thicker materials.
- Slower output: Laser and digital cutting methods generally achieve higher part volumes in less time, making CNC routing less cost-effective for large runs.
- Longer setup times: Extended tool changes and machine setup can add to the overall production timeline and costs.
When to choose CNC routing
- You’re customizing thick, rigid materials
- Your project requires clean edges or detailed engraving
Ready to start your project?
Choosing the wrong cutting method on your material components can cost you time and money. At iD Products, we guide your project from design through production with the right process for your part — every time.
Need a partner to make the final pieces of your product? Whether it’s a custom gasket or a graphic overlay, we have you covered.
Let’s talk. Contact our team to request a quote.