Custom Tamper-Evident Security Labels
A starter guide to custom tamper-evident security labels
Trust in your product is everything. Whether you’re a medical supplier, manufacturer or pharmacist, you need confidence that your products arrive exactly as they should. Protecting product integrity is about safety, not to mention preserving trust in your brand.
In today’s complex supply chains, tamper-evident security labels provide visible assurance that products haven’t been opened or altered.
When it comes to applications like pharmaceutical packaging, these safety labels help safeguard your brand against the costly fallout of unauthorized access, contamination or counterfeiting. They’re also used on equipment for warranty protection and regulatory compliance, helping protect both the brand’s liability and the end user’s safety.
Ultimately, these labels reassure the end user of a product’s integrity and authenticity, confirming that no unauthorized users have interfered with the product during transit or handling.
Applications for tamper-evident labels
Tamper-evident labels are used anywhere product integrity and chain of custody matter most, including:
- Pharmaceutical packaging
- Medical devices (get our guide on durable medical labels)
- Food and beverage containers
- Electronics and electronics packaging
- Document sealing and secure transport
- Recreational vehicles
- Equipment
When you can’t monitor your product 24/7, tamper-evident security labels offer peace of mind. These labels are designed to leave behind clear, visual evidence if someone attempts to open or remove them.
Conversely, when your product or package arrives intact, it reassures both the sender and receiver that the contents inside are safe and unaltered. That’s especially critical in high-stakes industries like medical and pharmaceutical.
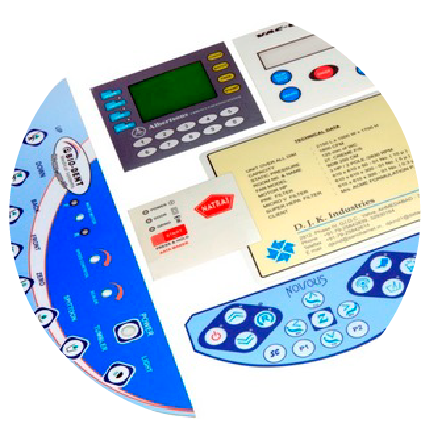
Tamper evident labels are also widely used on equipment, enclosures and devices. These labels help companies verify whether sensitive components have been opened, accessed or altered by an unauthorized party. If the seal is broken, it provides immediate visual proof of interference and can void the warranty since unapproved repairs or tampering compromise both performance and safety.
How do tamper-evident security labels work?
Two common mechanisms make this possible:
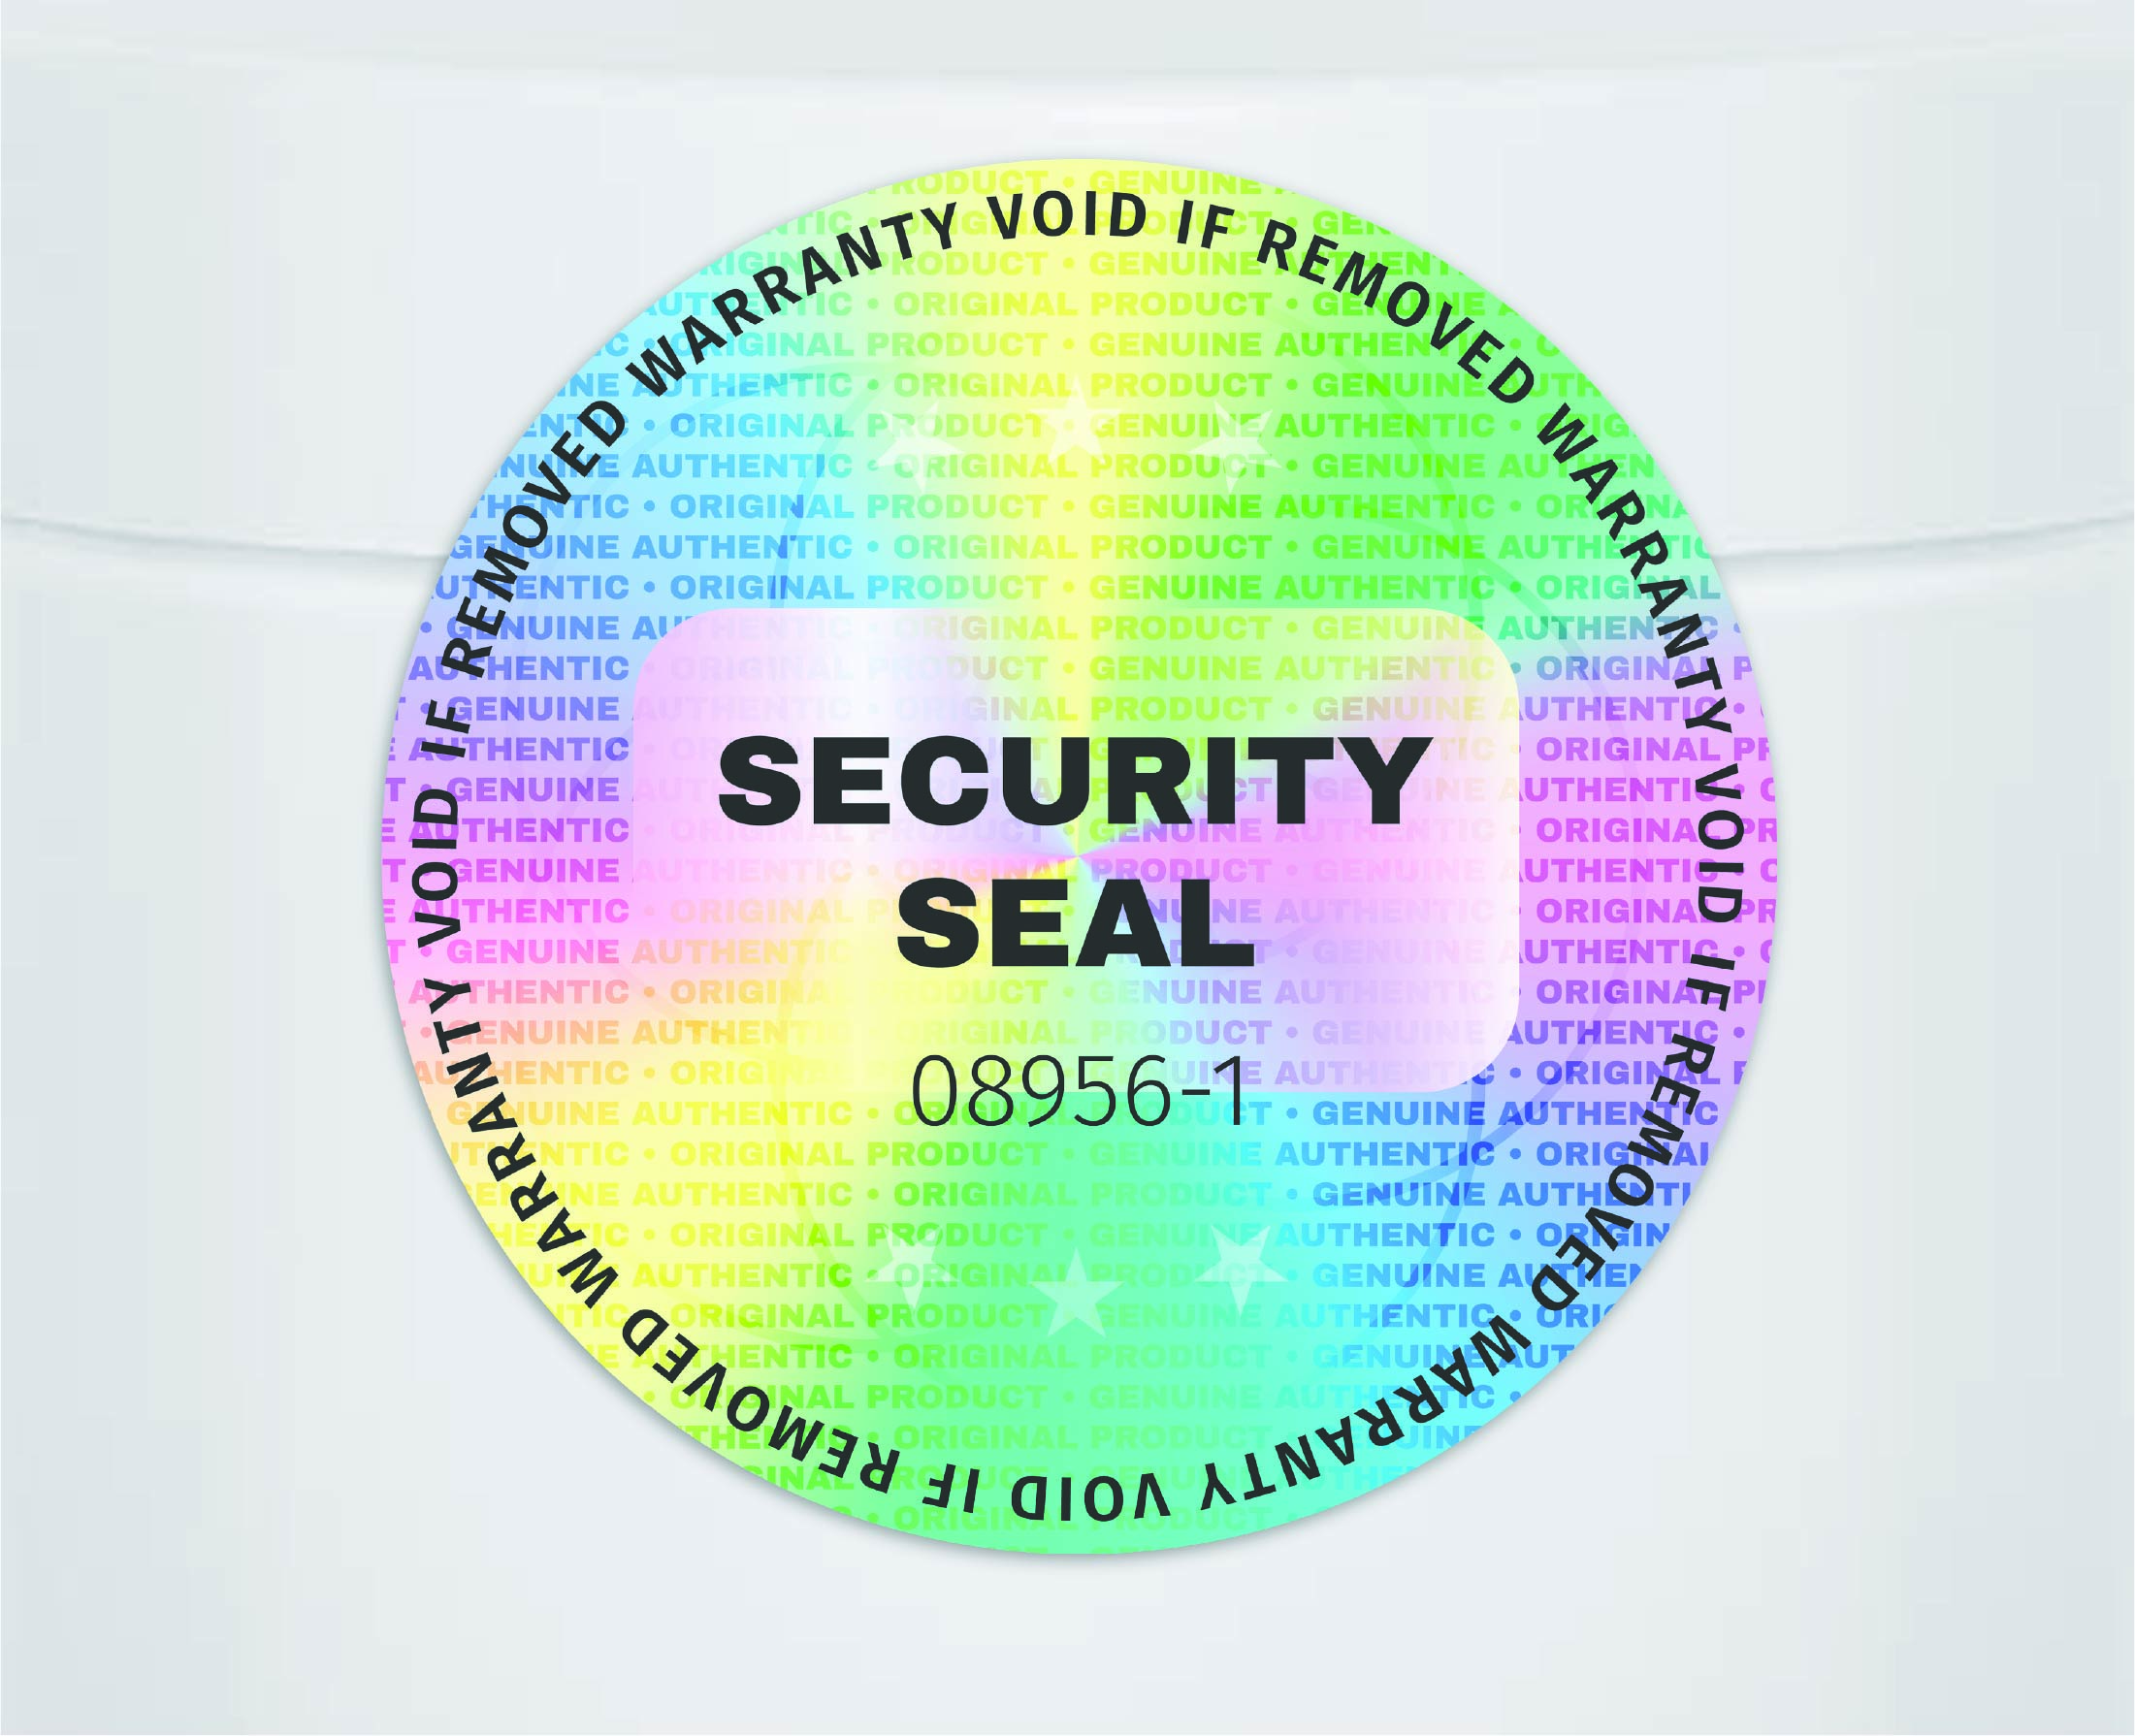
Residue labels
When a residue label is lifted or removed, it leaves behind a visible pattern, such as “VOID” or a checker design, on the surface or liner. The label’s face material is engineered with a network of micro die cuts that make it impossible to peel away in one piece. The result is an unmistakable message to the end user: the product has been opened or tampered with.
- Best for: Single-use applications such as shipping containers, consumer packaging and document security.
Tamper-evident security labels by 3MTM: Residue labels
| Product | Material | Adhesive | Properties |
| 3M™ Tamper-Evident LabelMaterial 7381 | White PET | 300 | Leaves white VOID message when removed. Compact for small labels.UL/CSA recognized |
| 3M™ Tamper-Evident LabelMaterial FMV22 | White PET | P1410 | Leaves white VOID message when removed. Printable top coat. FDA compliant for indirect food contact. |
| 3M™ Tamper-Evident LabelMaterial FMV02 | Silver PET | P1410 | Leaves silver VOID message when removed. Well suited for kiss-cutting and automated label production.Printable topcoat. FDA compliant for indirect food contact. |
| 3M™ Tamper-Evident LabelMaterial 7380 | Polyester | 300 | Matte white VOID message when removed. |
| 3M™ Tamper-Evident LabelMaterialFMV01402 | White PET | P1410 | Leaves white triangle pattern when removed. Well suited for kiss-cutting and automated label production. FDA compliant for indirect food contact. |
| 3M™ Tamper-Evident LabelMaterialFMV01202 | Silver PET | P1410 | Leaves silver triangle pattern when removed. Well suited for kiss-cutting and automated label production. FDA compliant for indirect food contact. |
Destructable labels
Made from fragile materials such as vinyl, acetate or paper, these labels are designed to fracture or tear upon removal. They cannot be peeled and reapplied without visible damage, giving the end user immediate evidence of use or interference.
- Best for: Sealing medicine bottles, medical equipment casings and other high-security packaging.
- Note: Not ideal for applications requiring clean removal; fragments can be difficult to remove completely.
Tamper-evident security labels by 3MTM: Destructable labels
| Product | Material | Adhesive | Properties |
| 3M™ Security Products Label Material 7613T | White vinyl | 350 | Bonds to textured and contoured surfaces, powder coatings and slightly oily metals. UL/CSA recognized |
| 3M™ Performance Label Material 7110 | White paper | 320 | Writeable and printable. Withstands autoclaving, resists flagging on vials and containers. |
Find more 3MTM tamper-evident products.
Custom options for tamper-evident security labels
At iD Products, we deliver peace of mind through tamper-evident solutions customized for your unique application. As a full-service converter and printing provider, we help you identify safely solutions that protect your end users and your brand.
- Sourcing: Our preferred partnership with 3MTM ensures access to high-performance materials and adhesives designed for security and durability.
- Sizing: Precision die cutting, including kiss cutting, for exact dimensions that fit your packaging and application.
- Printing: Custom colors, logos and serial numbering to align your security labels with your brand and tracking systems.
Need custom tamper-evident security labels?
From material selection to custom converting and printer integration, iD Products provides complete solutions to secure your products, protect the end user and safeguard your brand.
Contact our printing and converting experts today and get a quote for your tamper-evident security label needs.